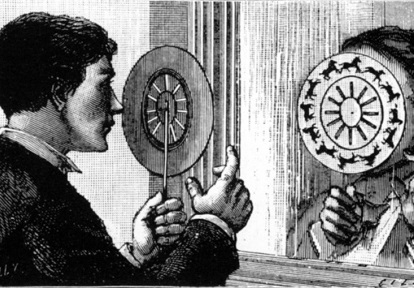
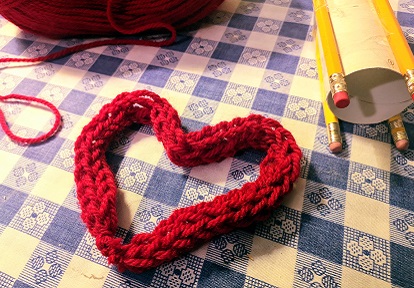
Harness the power of illusion with this easy-to-make 19th-century optical toy.
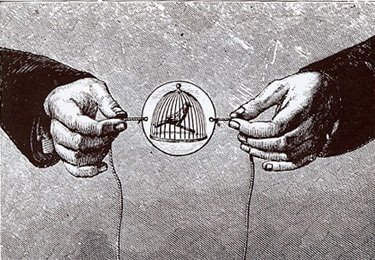
People of all ages enjoyed optical illusion toys in the 19th century. To learn more, check out our online learning lesson on optical toys.
Making a thaumatrope is easy and the design possibilities are endless! So get creative, and make your own toy — or two!
Optical Toy Tutorial
Step 1: Gather your supplies
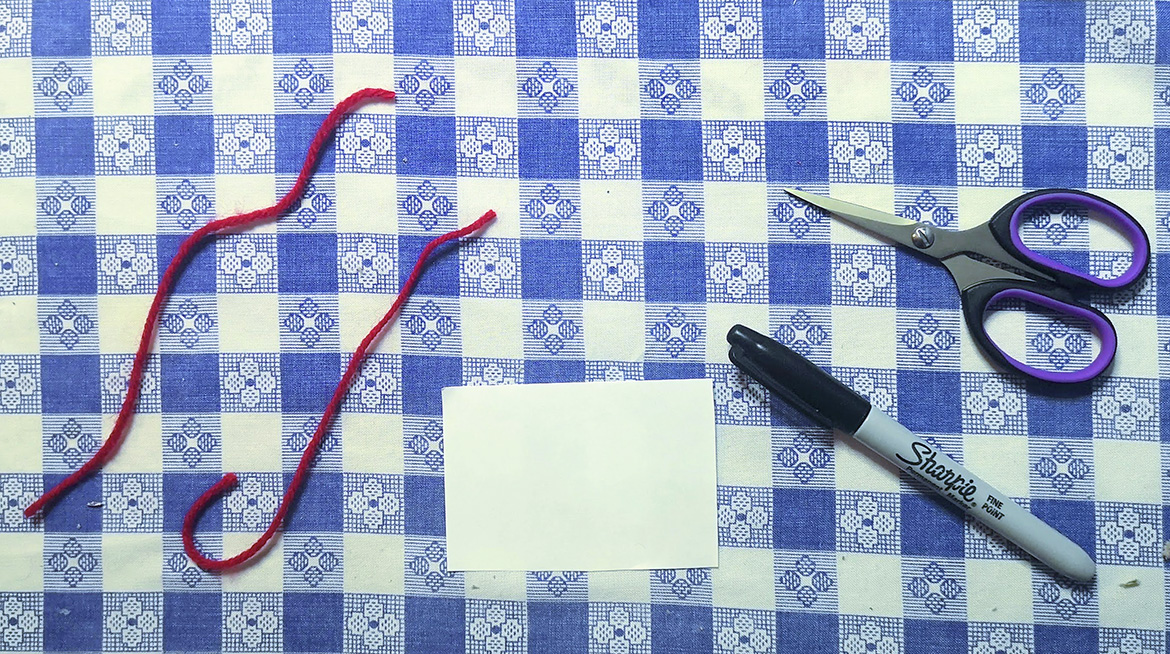
You will need:
- Two pieces of yarn or string, about 30 cm long
- Cardboard or card stock, cut into a small rectangle or circle
- Markers or pencil crayons
- Scissors
Step 2: Make your thaumatrope
With the tips of the scissors make a small hole at each end of your cardboard. The holes should be directly across from each other.
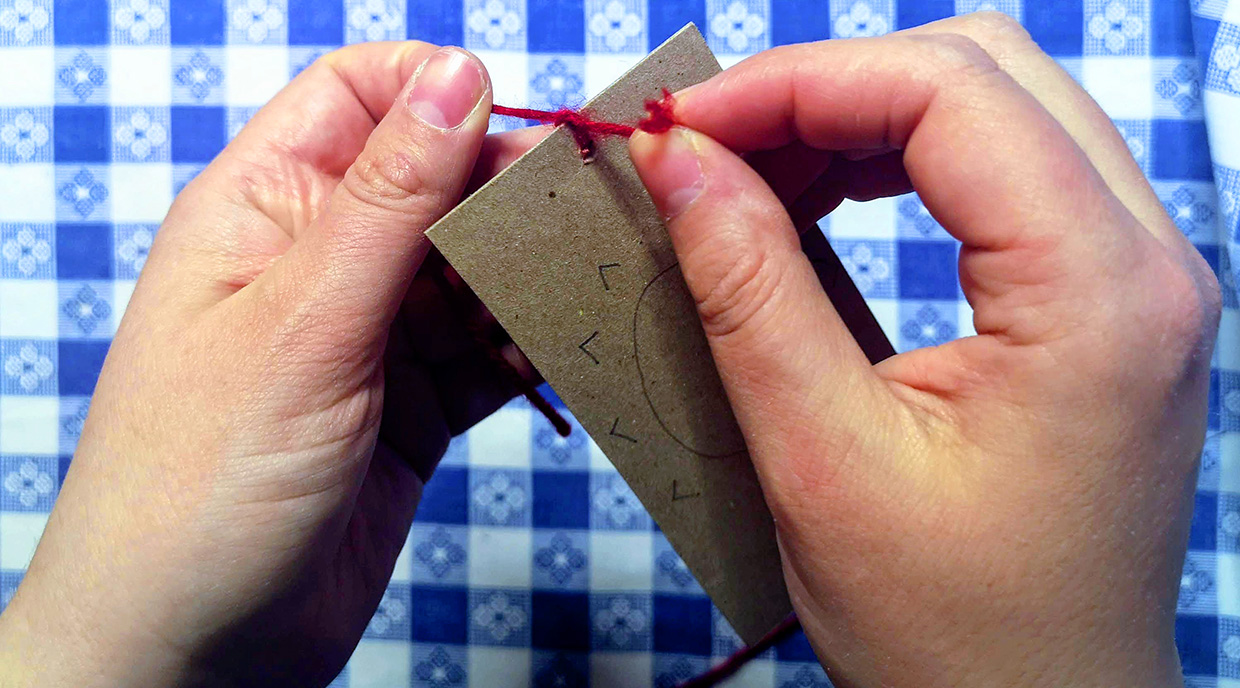
Weave a small amount of string through each hole and tie a knot. Leave enough string to grasp in your hands.
Step 3: Get creative
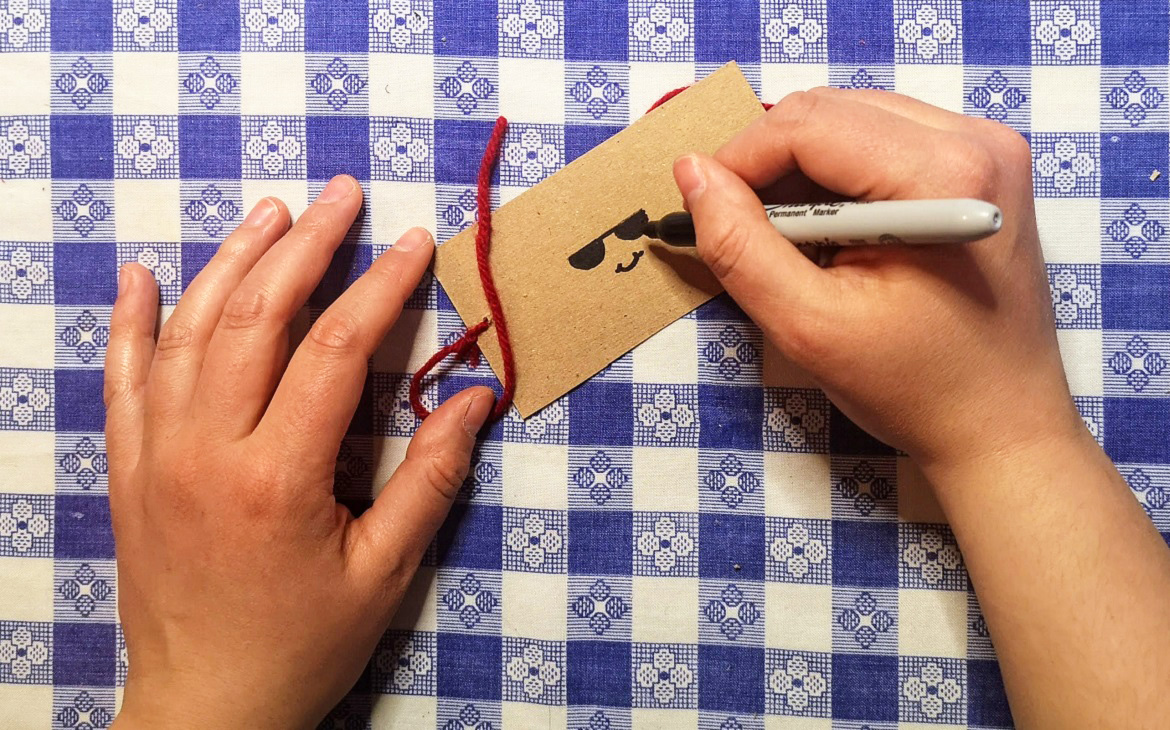
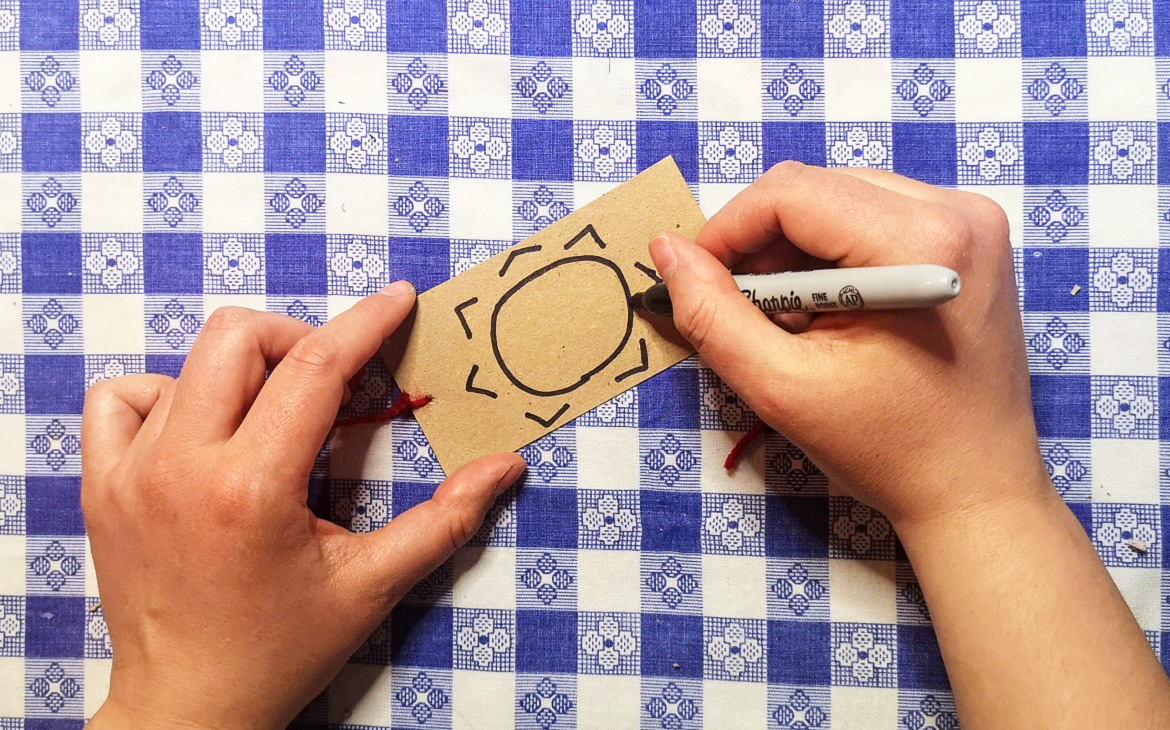
Now, a chance to put your artistic skills to work! On the two sides of the cardboard, draw the images you’d like to combine. In this example, I’ve drawn a face on one side, and a picture of the sun on the other.
Some other ideas for thaumatrope images:
- A flower and pot
- A tree and apples
- A candle and flame
Or design your own!
Step 4: Have some fun!
Amaze family and friends with your new toy. Gently grasp the strings on either side, twist, and give a gentle tug. The cardboard will spin, and the images will merge. In this example, the face appears to be on the sun.
 |
